Recipe
Gluten-Free Banana Bread: A Recipe That Holds Together
This page contains affiliate links – if you buy through them we may earn a commission, at no extra cost to you. The recommendations are our own assessment. As an Amazon Associate we earn from qualifying purchases.
A gluten-free banana bread that actually holds together comes down to four things: very ripe bananas weighed rather than counted, a rice-based gluten-free all-purpose blend containing xanthan gum, enough egg and dairy to bind the crumb, and a short rest so the starches hydrate before the loaf goes in the oven. The recipe below makes one standard loaf: mash about 350 g of dark-speckled bananas, whisk them with melted butter, brown sugar, eggs, yogurt and vanilla, fold in 250 g of gluten-free flour blend with baking soda, baking powder and salt, let the batter sit for twenty minutes, then bake at 175 °C for roughly an hour. That is the whole method. The sections that follow explain the choices behind it, because gluten-free banana bread fails in specific, predictable ways — gummy centre, sunken middle, sandy texture — and each one has a cause you can control.
Gluten-Free Banana Bread
Ingredients
- 350 g very ripe bananas, peeled (about 3 medium)
- 250 g gluten-free all-purpose flour blend
- 1 tsp xanthan gum (omit if the blend already contains it)
- 1 tsp baking soda
- 1 tsp baking powder
- 0.5 tsp fine salt
- 1 tsp ground cinnamon (optional)
- 150 g light brown sugar
- 115 g unsalted butter, melted and slightly cooled
- 2 large eggs, at room temperature
- 60 g plain yogurt or sour cream
- 2 tsp vanilla extract
- 75 g chopped walnuts or dark chocolate chunks (optional)
Instructions
- Heat the oven to 175 °C and line a standard loaf tin with parchment, leaving an overhang on the long sides.
- Whisk the flour blend, xanthan gum if using, baking soda, baking powder, salt and cinnamon together in a bowl until evenly combined.
- Mash the bananas in a large bowl until mostly smooth with a few small lumps remaining.
- Whisk the brown sugar, melted butter, eggs, yogurt and vanilla into the mashed banana until the mixture is uniform.
- Add the dry ingredients to the wet and stir until no dry flour remains and the batter is smooth.
- Fold in the walnuts or chocolate, first tossing them in a spoonful of the flour blend so they stay suspended.
- Leave the batter to rest at room temperature for 20 minutes so the starches hydrate and it thickens.
- Stir once, scrape into the lined tin and level the surface, keeping the centre slightly lower than the ends.
- Bake for 55 to 65 minutes, until a skewer in the centre comes out with moist crumbs but no wet batter; tent with foil if the top browns early.
- Cool in the tin for 15 minutes, then lift out onto a rack and cool completely before slicing.
Start With Bananas That Look Past Their Best
Ripeness is the single biggest lever in this loaf. Bananas that are still firm and pale yellow are mostly starch; as they ripen the starch converts to sugar, the flesh softens, and the fruit gives up moisture readily into a batter. In a gluten-free bake that moisture matters twice over, because the flour blend has no gluten network to trap steam and the crumb dries out faster than a wheat loaf would.
Weigh the bananas rather than counting them. Bananas vary enormously in size, and a recipe built on 'three bananas' can swing by a hundred grams or more, which is the difference between a moist loaf and a wet, sunken one. Aim for around 350 g of peeled fruit, mashed but not puréed — leaving a few small lumps gives pockets of banana in the finished slice.
Frozen bananas work well and are arguably better, since freezing ruptures the cell walls and the thawed fruit mashes almost to a purée. Thaw them fully in a bowl and pour in the dark liquid that separates out; that liquid is sugar and flavour, not waste.
- Skins should be heavily speckled or mostly black, and the fruit should feel soft through the peel
- Weigh peeled fruit to about 350 g rather than counting bananas
- Thawed frozen bananas are fine — include the liquid they release
- To ripen faster, bake unpeeled bananas at 150 °C until the skins blacken, then cool before using
Choosing a Gluten-Free Flour Blend for This Loaf
A cup-for-cup or all-purpose gluten-free blend built on rice flour and starches is the straightforward choice here. Banana bread is a forgiving quick bread with plenty of sugar, fat and fruit, so it does not demand the more elaborate flour combinations that lean, yeasted gluten-free baking does. Read the ingredient list before you buy: many blends already contain xanthan gum, in which case you should leave out the extra teaspoon or the crumb turns rubbery and slightly slick.
Blends differ in how much starch they carry. A very starch-heavy blend gives a pale, soft, almost cake-like loaf; one with sorghum, millet or oat flour in it gives more body and a nuttier flavour that suits banana well. Both work — it is a matter of what you want from the slice, not of one being correct.
Almond flour and coconut flour are not substitutes for a blend in this recipe. Almond flour has no starch to set the structure and produces a dense, greasy loaf at this ratio; coconut flour absorbs several times its weight in liquid and would seize the batter. If you want to use almond flour, use it as a partial swap of no more than about a quarter of the blend, and expect a moister, shorter-keeping loaf.
Measure the flour by weight. Scooping gluten-free blends with a cup compacts the fine starches and can add a substantial amount of extra flour, which is the most common cause of a dry, crumbly gluten-free bake.
- Rice-and-starch all-purpose blends are the safe default
- Check whether the blend already contains xanthan gum before adding more
- Blends with sorghum, millet or oat flour give a fuller flavour and firmer crumb
- Weigh, do not scoop — 250 g, not 'two cups'
What Holds a Gluten-Free Loaf Together
Without gluten, the structure comes from three sources working together: egg protein, gelatinised starch, and a hydrocolloid such as xanthan gum or psyllium husk. Two eggs in a single loaf give enough protein to set the crumb without pushing it towards custard. Bringing them to room temperature helps them emulsify with the melted butter instead of seizing it into flecks.
Yogurt or sour cream does more than add moisture. The acidity reacts with the baking soda for lift, and the milk protein softens the crumb, which counters the slightly sandy quality that rice-based blends can leave. Buttermilk works in its place. If you are baking dairy-free, a thick unsweetened plant yogurt is the closest swap.
Melted butter is easier to handle than creamed butter here and gives a denser, moister loaf; a neutral oil works and keeps the crumb soft for longer, at the cost of some flavour. If you want extra insurance against crumbling, a teaspoon of whole psyllium husk stirred into the wet ingredients builds a gel that holds slices together neatly — useful if you plan to toast the bread.
- Room-temperature eggs emulsify with melted butter instead of splitting it
- Yogurt, sour cream or buttermilk adds acidity for lift and softens the crumb
- Oil in place of butter keeps the loaf soft longer but tastes plainer
- A teaspoon of psyllium husk makes slices less prone to crumbling
Mixing and the Twenty-Minute Rest
The advice you know from wheat baking — mix as little as possible — does not carry over directly. There is no gluten to toughen, so a thorough mix until the batter is smooth and uniform is fine and actually helps hydrate the flour evenly. What you should avoid is beating air in aggressively with a mixer, which can leave a coarse, tunnelled crumb.
The rest is the step most gluten-free banana bread recipes leave out, and it is worth the twenty minutes. Rice flour and starches absorb liquid slowly; straight after mixing, the batter is loose and some of the flour is still dry in the middle of its particles. Letting the bowl stand at room temperature lets the starch take up that liquid, and the batter visibly thickens. The finished loaf is less gritty and less likely to sink.
Stir the batter once after resting and scrape it into a tin lined with parchment, pushing it slightly higher at the ends than in the middle. Gluten-free loaves tend to dome and crack in the centre; starting with a shallow dip evens that out. Get the loaf into a fully preheated oven promptly once the raising agents have been activated by the acidic yogurt.
- Mix until uniform — you cannot overwork a batter with no gluten in it
- Rest the batter 20–30 minutes so the starches hydrate
- Line the tin with parchment; gluten-free batters stick stubbornly
- Level the middle slightly lower than the ends to control the dome
Baking, Doneness and Cooling
A moderate oven around 175 °C suits this loaf. Hotter and the crust sets before the centre has cooked, which is precisely how you end up with a raw-looking gummy band along the bottom. In a standard loaf tin the bake takes roughly an hour, and it is normal for the top to crack along its length as the loaf rises.
Judge doneness by more than colour. A skewer pushed into the centre should come out with moist crumbs clinging to it but no wet batter; if you use a thermometer, many bakers pull quick breads when the centre reads around 96 °C. If the top is browning well before the middle is set, lay a sheet of foil loosely over the tin for the last stretch.
Cooling is part of the recipe, not an afterthought. Gluten-free crumb continues to set as it cools and the starches retrograde; a loaf cut hot will look and feel underbaked and will tear rather than slice. Leave it in the tin for about fifteen minutes, then lift it onto a rack and let it cool completely — ideally a couple of hours — before the first slice.
- 175 °C in a lined standard loaf tin, roughly 55–65 minutes
- Skewer should show moist crumbs, not wet batter
- Tent with foil if the top colours early
- Cool fully before slicing, or the crumb will seem gummy
Common Problems and What Usually Causes Them
Most complaints about gluten-free banana bread trace back to a handful of causes, and knowing which one you are looking at saves you from changing the wrong variable next time.
Storage matters more than with wheat bread. Gluten-free loaves stale quickly, and the fridge accelerates it. Wrap the fully cooled loaf tightly and keep it at room temperature for two or three days, or slice it and freeze the slices with parchment between them; they toast straight from frozen.
- Gummy, dense band at the bottom: underbaked, cut too warm, or too much banana by weight
- Sunken middle: excess liquid, oven door opened early, or a tin that is too small for the volume
- Sandy or gritty texture: a coarse rice-based blend, or the batter was not rested
- Rubbery, slick crumb: xanthan gum added on top of a blend that already contained it
- Dry and crumbly: flour scooped rather than weighed, or the loaf left in too long
- Crumbles when sliced: needs more binder — try psyllium husk — or simply more cooling time
Variations Worth Making
The base recipe takes add-ins well as long as you keep the total weight modest, since heavy inclusions sink through a batter with no gluten to suspend them. Around 75–100 g is a sensible ceiling for a single loaf, and tossing the pieces in a spoonful of the measured flour before folding them in helps them stay put.
For a dairy-free loaf, use oil in place of butter and a thick plant yogurt in place of dairy yogurt; the crumb stays soft and the flavour is barely different once the banana and vanilla come through. Egg-free versions are harder, because the eggs are doing structural work here — a flax replacement gives a noticeably denser, damper loaf, and it is worth adding psyllium husk if you go that route.
This is an editorial assessment based on how these ingredients behave in gluten-free baking rather than a comparison of branded products, and blends do differ between manufacturers. Treat the first loaf as calibration: note whether your blend needed a little more or less liquid, and adjust by small amounts next time.
- Chopped walnuts or pecans, toasted first for more flavour
- Dark chocolate chunks, or a swirl of nut butter dragged through the batter with a knife
- Cinnamon, cardamom or a grating of nutmeg in the dry ingredients
- A handful of oats scattered on top before baking for texture — use certified gluten-free oats
Frequently Asked Questions
Do I need to add xanthan gum?
Only if your gluten-free flour blend does not already contain it — check the ingredient list. Most cup-for-cup blends include a gum, and adding a second teaspoon on top gives a rubbery, slightly slick crumb. If your blend is gum-free, one teaspoon for this loaf is right. Whole psyllium husk is an alternative binder and tends to make slices less crumbly.
Can I use almond flour or coconut flour instead of a gluten-free blend?
Not as a straight swap. Almond flour has no starch to set the structure and produces a dense, greasy loaf at this ratio, while coconut flour absorbs several times its weight in liquid and would seize the batter. Almond flour works as a partial substitution for up to about a quarter of the blend, giving a moister loaf that keeps for less time.
Why is my gluten-free banana bread gummy in the middle?
The three usual causes are cutting it before it has cooled, underbaking, and too much banana by weight. Gluten-free crumb sets as it cools, so a warm slice will always seem damper than the finished loaf. Bake until a skewer shows moist crumbs rather than batter, cool completely, and weigh the bananas to around 350 g instead of counting them.
Can I make it dairy-free?
Yes. Replace the butter with the same weight of a neutral oil and the yogurt with a thick unsweetened plant yogurt. The acidity of the plant yogurt still reacts with the baking soda for lift, and the oil keeps the crumb soft for slightly longer than butter does. The flavour difference is small once the banana and vanilla come through.
How should I store the loaf?
Wrap it tightly once it is fully cool and keep it at room temperature for two or three days. Avoid the fridge, which makes gluten-free bakes stale noticeably faster. For longer storage, slice the loaf and freeze the slices with parchment between them; they can go straight into the toaster from frozen.
Related guides
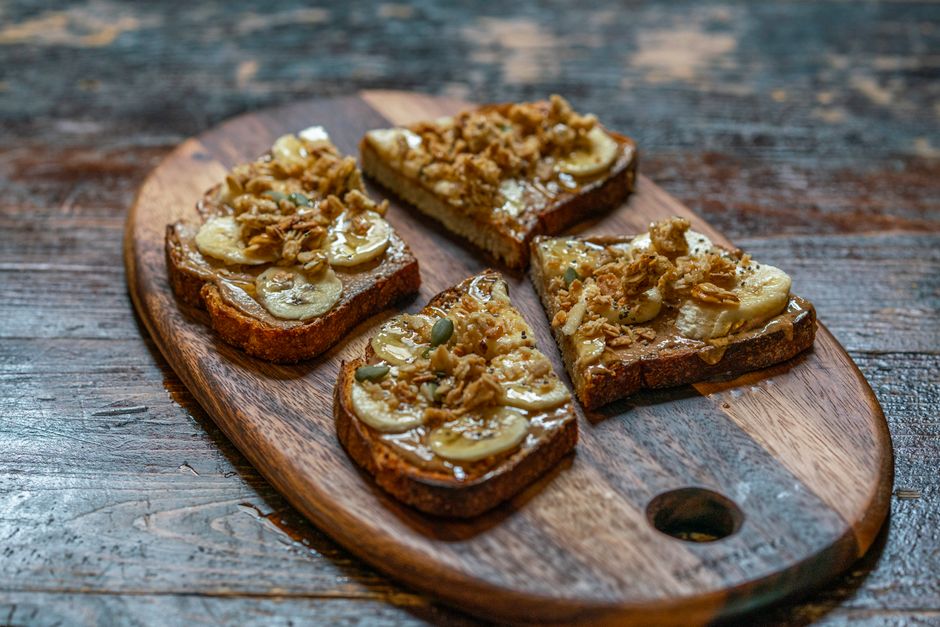 RecipeGluten-Free Banana Bread RecipeEasy gluten-free banana bread with a 1:1 GF flour blend. Moist, tender crumb, ready in about an hour. Tips, doneness cues, and FAQ included.Read the recipe →
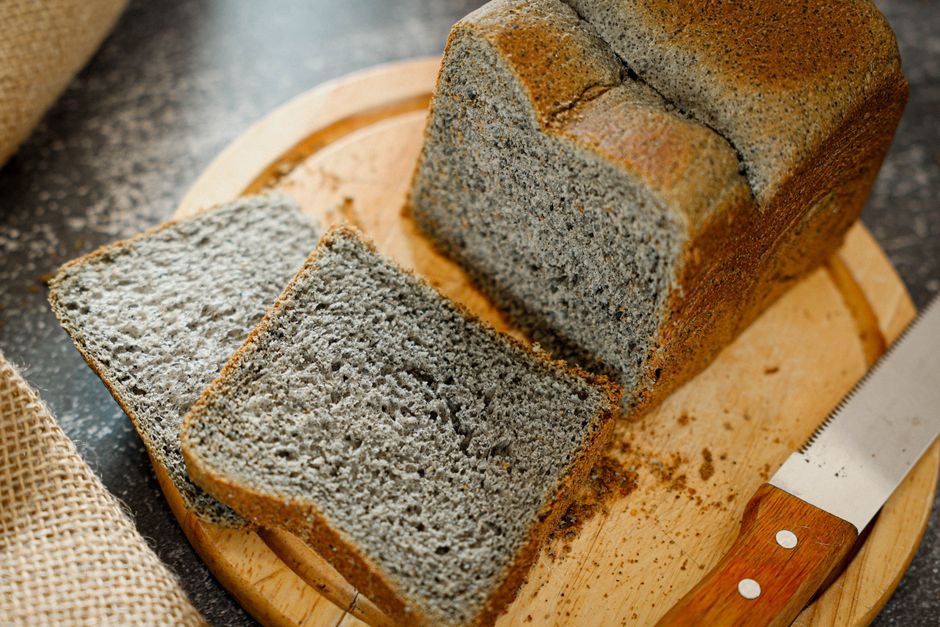 RecipeGluten-Free Bread RecipeMake a soft, sliceable gluten-free sandwich loaf with a GF flour blend, psyllium or xanthan, and yeast. Single rise, bake temps, and doneness tips.Read the recipe →
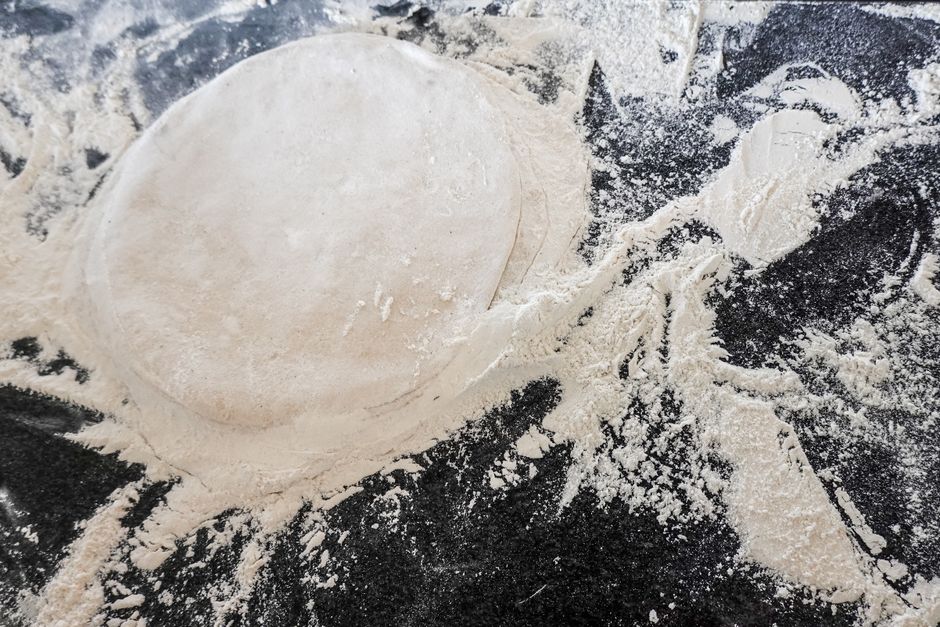 RecipeGluten-Free Pizza Dough RecipeMake gluten-free pizza dough with a 1:1 flour blend, psyllium, and yeast. Par-bake tips, a hot-oven method, and FAQs for a crisp, sturdy crust.Read the recipe →