Recipe
Gluten-Free Banana Bread Recipe: A Moist Loaf That Slices Cleanly
This page contains affiliate links – if you buy through them we may earn a commission, at no extra cost to you. The recommendations are our own assessment. As an Amazon Associate we earn from qualifying purchases.
Yes, banana bread adapts to gluten-free baking better than almost any other loaf, and the recipe below is the version we would point a reader to first: roughly 300 g of very ripe mashed banana to 250 g of a gluten-free plain flour blend, bound with two eggs, enriched with oil and yoghurt, and baked in a 900 g loaf tin at 175 °C for around 50 to 60 minutes. Banana bread is a quick bread, so it never depended on a developed gluten network in the first place. Its structure comes from egg protein, gelatinised starch and the sugar and moisture in the fruit, all of which behave the same whether or not wheat is involved. What does change is hydration and timing: gluten-free flour blends drink liquid more slowly, so the batter needs a short rest before it goes into the tin, and the loaf needs to cool completely before it is cut. Get those two things right and the difference between this and a wheat loaf is hard to place.
Gluten-Free Banana Bread
Ingredients
- 300 g very ripe banana, mashed (about 3 medium bananas, peeled weight)
- 250 g gluten-free plain flour blend
- 1 tsp xanthan gum (leave out if the blend already contains a binder)
- 1.5 tsp gluten-free baking powder
- 0.5 tsp bicarbonate of soda
- 0.5 tsp fine sea salt
- 1 tsp ground cinnamon (optional)
- 150 g soft light brown sugar
- 2 large eggs, at room temperature
- 120 ml mild-flavoured oil, or 115 g melted unsalted butter
- 60 g plain full-fat yoghurt or sour cream
- 2 tsp vanilla extract
- 75 g chopped walnuts or dark chocolate chunks (optional)
Instructions
- Heat the oven to 175 °C (160 °C fan) and line a 900 g loaf tin with baking paper, leaving an overhang along the two long sides.
- Mash the peeled bananas in a large bowl until mostly smooth, leaving a few small lumps for texture.
- In a second bowl, whisk together the flour blend, xanthan gum if using, baking powder, bicarbonate of soda, salt and cinnamon until evenly combined.
- Whisk the brown sugar, eggs, oil, yoghurt and vanilla into the mashed banana until the mixture looks glossy and uniform.
- Add the dry mixture to the wet and stir just until no dry flour is visible, then fold through the nuts or chocolate if using.
- Leave the batter to stand in the bowl for 20 minutes so the flours and gums hydrate.
- Scrape the batter into the lined tin, level the top and bake on the middle shelf for 50 to 60 minutes, tenting loosely with foil once the crust is deep brown.
- Test with a skewer pushed into the centre: it should come out with moist crumbs clinging to it but no wet batter. If it is wet, return the loaf to the oven in 5-minute stages.
- Cool in the tin for 15 minutes, then lift the loaf out by the paper and cool completely on a wire rack before slicing with a serrated knife.
Why gluten-free banana bread behaves differently
In a wheat loaf, gluten forms an elastic network that traps gas and gives the crumb something to hang from. Take it away and that job is shared between the eggs, the starch in the flour blend and a binder such as xanthan gum or psyllium husk. The practical consequence is that a gluten-free batter is looser than you expect, sets later in the bake, and holds far more water in the finished crumb.
Banana bread is a forgiving place to meet those differences. There is no proving, no kneading and no windowpane test, and the fruit itself contributes moisture, sugar and pectin that help the loaf hold together. The main failure mode is not collapse but gumminess, which is almost always a bake that was stopped too early or a loaf that was cut while still warm.
- Structure comes from egg protein, starch and a binder, not from gluten development
- The batter should pour thickly rather than hold its shape on the spoon
- Underbaking shows up as a damp, dense seam near the base rather than raw batter
- A short rest before baking hydrates the flour and reduces any gritty edge
Choosing a flour blend that works
A cup-for-cup or plain gluten-free blend built on rice flour with tapioca and potato starch is the most predictable starting point, because it is formulated to sit roughly where wheat flour sits in weight and absorption. Read the ingredient list before you add anything: many blends already contain xanthan gum, and doubling up on binder is what produces a slightly rubbery, bouncy crumb.
If you want more flavour than a white starch blend gives, swap up to about a quarter of the total flour weight for sorghum, buckwheat or oat flour. Those carry a nutty, wholemeal character that suits banana particularly well. Oats are a special case: they are naturally gluten-free but are routinely handled alongside wheat, so only oat flour and oats labelled gluten-free belong in this loaf.
Almond flour and coconut flour are not drop-in replacements by weight. Almond flour carries far more fat and no starch, and coconut flour absorbs several times its own weight in liquid. Either can appear in a recipe written around them, but neither can simply stand in for the blend here.
- Rice-and-starch cup-for-cup blends are the safest base for a first attempt
- Replace up to a quarter of the blend with sorghum, buckwheat or certified gluten-free oat flour for more flavour
- Skip the extra xanthan gum if the blend already lists a binder
- Check that the baking powder, chocolate and any nuts are labelled gluten-free
- Treat almond and coconut flour as different recipes, not as substitutions
Bananas: how ripe and how much
Ripeness does more for this loaf than any other single choice. As bananas ripen, starch converts to sugar, the flesh softens and the aroma compounds that read as banana become far more pronounced. Skins that are heavily speckled or almost entirely black are what you want. A yellow, firm banana will disappear into the crumb and leave you with a plain sweet loaf.
Weigh the fruit rather than counting it. Banana size varies enormously, and three large bananas can easily deliver half again as much purée as three small ones. Since banana is mostly water, an overload pushes the batter past what the starch and eggs can set, and the centre stays dense however long you bake it. Around 300 g of peeled fruit against 250 g of flour blend is a ratio that gives clear banana flavour while still setting properly.
Frozen bananas work well and are often riper than anything you can buy, but they shed a surprising amount of liquid as they thaw. Drain that off before mashing, or hold back part of the yoghurt to compensate. If your bananas are stubbornly underripe, roasting them in their skins for 15 to 20 minutes at the same oven temperature softens and sweetens them enough to use.
- Aim for skins that are heavily speckled to almost black
- Weigh the peeled fruit instead of counting bananas
- Drain thawed frozen bananas before mashing
- Roast underripe bananas in their skins to soften and sweeten them
The method, and why each step matters
Mixing is the step people over-think. In wheat baking you stop early to avoid toughening the crumb, but there is no gluten here to overwork, so mix until the batter is uniform and stop there. What you are protecting is the emulsion of oil, egg and fruit, not a protein network. Whisking the wet ingredients thoroughly before the flour goes in gives you an even crumb without any further beating.
The rest is the step people skip, and it is the one that matters most. Rice flour in particular takes time to absorb water, and batter that goes straight into the tin bakes with a faint sandy quality that no amount of extra oven time will fix. Twenty minutes in the bowl is enough for the batter to visibly thicken and for the gums to swell.
Tin material changes the bake more than most people allow for. A light metal loaf tin conducts heat quickly and gives an even rise; a glass or ceramic dish heats slowly and holds that heat, so the loaf takes longer and the edges darken more. Bake on the middle shelf so the base does not set before the centre has finished rising.
- Mix until uniform; there is no gluten to toughen
- Rest the batter 20 minutes so the flour and gums hydrate fully
- Metal tins bake faster than glass or ceramic dishes
- Use the middle shelf and resist opening the oven in the first half of the bake
Baking, doneness and cooling
A deep crack running down the length of the loaf is normal and expected for a quick bread. The crust sets before the centre finishes rising, and the batter pushes through. It is a sign of a healthy rise, not a fault. If the crust reaches a dark brown while the centre is still soft, lay a sheet of foil loosely over the top and keep baking.
The skewer test is more useful than a clock. Push it into the thickest part of the centre, not into the crack, and look at what comes out: moist crumbs are correct, wet batter is not. Because gluten-free crumb holds so much water, the honest reading is that this loaf wants a few minutes more than instinct suggests rather than fewer.
Cooling is not optional. The starch continues to set as the temperature drops, and a loaf cut warm will taste gummy even when it was baked correctly. Fifteen minutes in the tin lets the structure firm enough to lift, then it needs to reach room temperature on a rack with air moving underneath. A serrated knife and a sawing motion give clean slices; pressure alone compresses the crumb.
- A long crack along the top is normal for a quick bread
- Tent with foil once the crust is dark but the centre is still soft
- Test the thickest part of the centre, avoiding the crack
- Rest 15 minutes in the tin, then cool completely on a rack before slicing
Common problems and what causes them
Most disappointing gluten-free banana bread traces back to one of a small number of causes, and they are easy to tell apart once you know what to look for. A gummy band across the bottom of the slices points to an underbake, too much banana, or a batter that never rested. A sunken middle usually means the loaf was moved or the oven was opened while the centre was still liquid, or that there was more raising agent than the batter could support.
Dryness runs the other way. Flour measured by volume rather than weight is the usual culprit, since a scooped cup of a starch-heavy blend can hold considerably more than a spooned one. Overbaking and cutting the fat or yoghurt also dry the crumb quickly, because there is no gluten holding moisture in place. A tacky top surface a day later is simply sugar and banana drawing in humidity, and it is prevented by leaving the loaf uncovered until it is genuinely cold.
- Gummy centre: underbaked, too much banana by weight, or no resting time
- Sunken middle: oven opened early, or too much baking powder and bicarbonate
- Gritty or sandy texture: batter went into the tin before the flour hydrated
- Dry and crumbly: flour measured by volume, or the loaf stayed in too long
- Sticky top: wrapped or covered before the loaf had fully cooled
Swaps, storage and variations
The recipe is straightforward to make dairy-free: use oil rather than butter and swap the yoghurt for a thick unsweetened plant yoghurt. Egg-free is a harder ask, because the eggs are carrying much of the structural load that gluten would otherwise share. Ground flaxseed mixed with water, or psyllium husk, will bind the batter, but expect a denser and more fragile loaf rather than a like-for-like result.
Sugar can be reduced somewhat, though not without consequence. It holds moisture and drives browning as well as sweetening, so a heavily cut loaf browns less, dries faster and keeps for a shorter time. Walnuts, pecans, dark chocolate and a spoonful of ground cardamom or mixed spice all sit comfortably alongside banana. A handful of chopped fruit is fine; anything wet, such as fresh berries, will slow the bake and risk the very gumminess you are trying to avoid.
Once the loaf is completely cold, store it in an airtight container at room temperature, where it keeps well for a couple of days. Refrigeration firms and stales gluten-free crumb faster than the counter does. For anything longer, slice the loaf first and freeze the slices with paper between them; individual slices thaw quickly and toast straight from frozen, which is arguably the best way to eat day-three banana bread anyway.
- Dairy-free: oil plus a thick unsweetened plant yoghurt
- Egg-free: flax or psyllium will bind, but the loaf will be denser
- Reducing sugar also reduces moisture retention and browning
- Store airtight at room temperature once fully cold; avoid the fridge
- Freeze in slices and toast from frozen
Frequently Asked Questions
Can I make gluten-free banana bread without xanthan gum?
You can. Some flour blends already contain a binder, in which case no addition is needed at all. If yours does not, psyllium husk works as an alternative and gives a slightly softer, more bread-like crumb. Leaving out a binder entirely is possible for a quick bread like this, since the eggs and banana do real structural work, but the loaf will be more fragile at the slice and is best cut thicker.
Why is my gluten-free banana bread gummy in the middle?
Three causes account for nearly all of it. The loaf came out too early, so test the centre with a skewer rather than trusting the clock. There was too much banana by weight, which adds water the starch and eggs cannot set, so weigh the peeled fruit. Or the loaf was sliced while still warm, before the starch had finished setting during cooling. Cooling completely is the single cheapest fix.
Can I use oat flour in this recipe?
Yes, and it suits banana particularly well, but only oats and oat flour labelled gluten-free are safe here, because oats are commonly grown and processed alongside wheat. Swap up to about a quarter of the total flour weight for oat flour. Going further makes the crumb noticeably softer and more prone to holding moisture, which means a longer bake.
Can I turn this batter into muffins?
It works well as muffins. Fill lined cases about two thirds full, keep the oven at the same temperature, and start checking much earlier than you would for a loaf, since the smaller portions set considerably faster. The batter still benefits from its rest before the cases are filled, and the muffins still need to cool before they are pulled apart.
Does the loaf really have to cool completely before slicing?
For the best texture, yes. Gluten-free crumb sets as it cools, and a slice cut warm reads as sticky and heavy even when the bake itself was correct. If you want a warm slice, cool the loaf fully first, then reheat a slice briefly in a toaster or a low oven, which gives the warmth without the gumminess.
Related guides
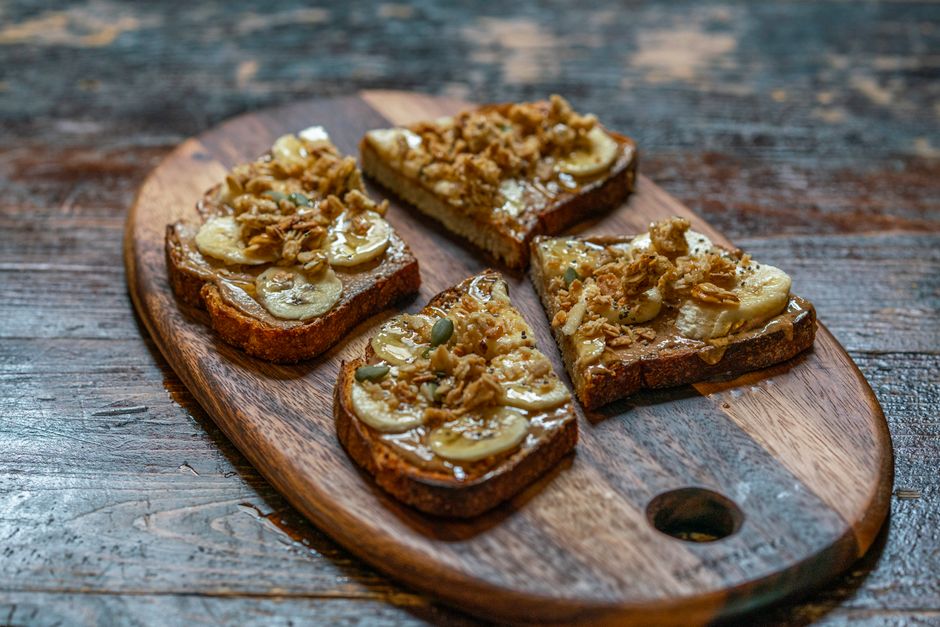 RecipeGluten-Free Banana Bread RecipeEasy gluten-free banana bread with a 1:1 GF flour blend. Moist, tender crumb, ready in about an hour. Tips, doneness cues, and FAQ included.Read the recipe →
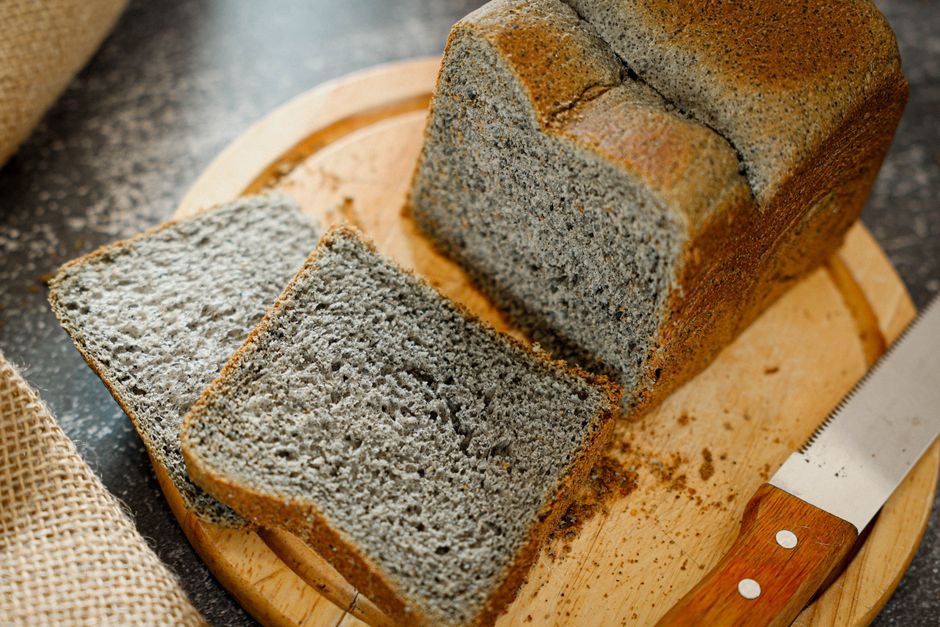 RecipeGluten-Free Bread RecipeMake a soft, sliceable gluten-free sandwich loaf with a GF flour blend, psyllium or xanthan, and yeast. Single rise, bake temps, and doneness tips.Read the recipe →
 RecipeGluten-Free Pizza Dough RecipeMake gluten-free pizza dough with a 1:1 flour blend, psyllium, and yeast. Par-bake tips, a hot-oven method, and FAQs for a crisp, sturdy crust.Read the recipe →
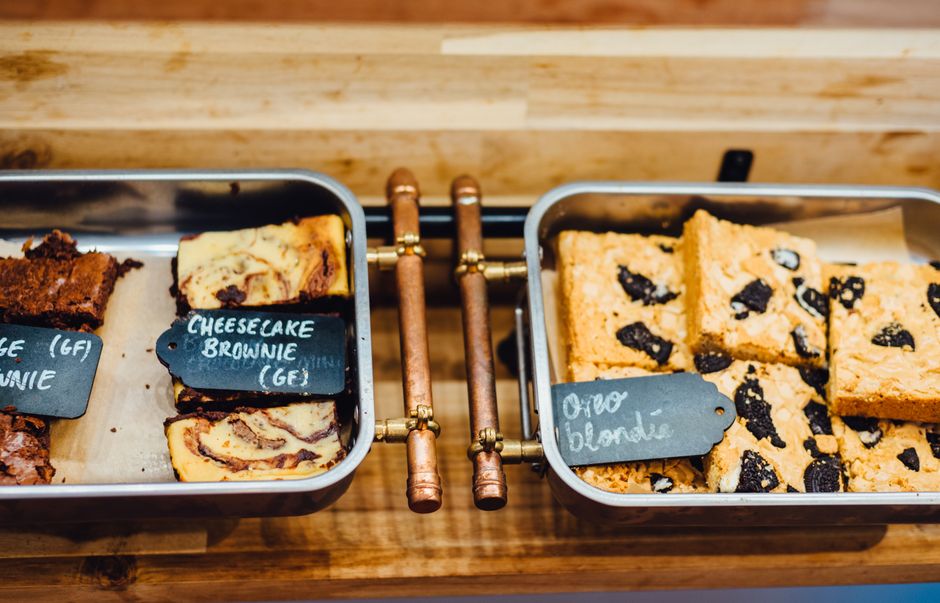 RecipeGluten-Free Brownies RecipeFudgy gluten-free brownies from scratch. Bake at 350F for 25-30 minutes for rich, crackly-topped squares. Recipe card, tips, and FAQ included.Read the recipe →